Reactive Brewing – Czech Pils Brewday and Recipe

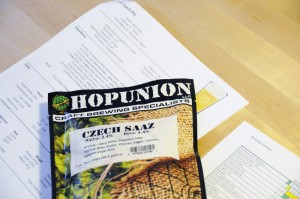
Hop Union Czech Saaz leaf hops packaged in one ounce nitrogen purged opaque bags.

Hop Union Czech Saaz leaf hops packaged in one ounce nitrogen purged opaque bags.

Most of the time, brewdays go smoothly; there can be a zen-like dance between brewer, equipment, and ingredients  where all marks are hit, stress is minimized, and all is right in the brew-world. This was not one of those days. Learning how to react to the variables thrown at you during the course of a brewday and making intelligent reactions is critical to becoming a better brewer. No matter how much preparation goes into your brewing, things happen; your reactions determine what impact unexpected variables will have on the final beer.

Before I get into the brewday shenanigans, let’s talk about why I’m brewing a Czech Pils.

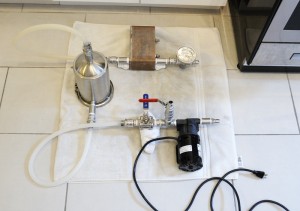
Blichmann Hop Rocket inline between the pump and plate chiller.

Blichmann Hop Rocket inline between the pump and plate chiller.

First and foremost, Czech Pils is delicious – enough said. Czech Pils also happens to be a clean, hop-forward lager that showcases the Saaz hop. This style would serve as the perfect platform for testing out my new toy – a Blichmann Hop Rocket. This contraption acts as a hop back, sitting in-line on the hot side between pump and chiller. This allows you to run hot wort through a bed of leaf hops and then chill almost immediately. It prevents too much trub from getting into the chiller, but more importantly gives another opportunity to push hop aroma and flavor into your beer. For this recipe, I am specifically interested in seeing how much and what kind of hop character the hop back provides. In formulating the hop bill for this recipe, there is a singular bittering charge with everything else going into the hop back post-boil. I can be reasonably confident that any hop aroma or flavor can be primarily attributed to the hop back addition.

The Brewday

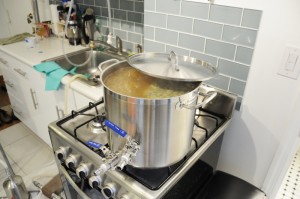
Living on the edge, boiling 4.5-gallons in a 5-gallon kettle.

Living on the edge, boiling 4.5-gallons in a 5-gallon kettle.

Problem 1: Yeast Selection
My problems started three days before the scheduled brewday when I went to pick up ingredients at my local homebrew shop. The recipe I developed originally called for Wyeast 2001- Urquell Lager. Unfortunately, my local shop didn’t have this strain in stock. A quick look at Wyeast’s web site led me to select Wyeast 2278 – Czech Pils as a back up. Luck would have it that they had this in stock, but the packs were 5 months old. The brew shop offered to give me a second pack at no cost, but adding yeast that old to a delicate lager was not an idea I wanted to entertain. I finally ended up selecting Wyeast 2124 – Bohemian Lager. This strain is the work horse used in most commercial lager around the world, and should work well for my beer. Best of all, the pack was only a week old. The lesson to take away is that when it comes to yeast, I’d rather compromise on strain selection and get the freshest yeast I can, rather than risk using yeast that likely has low viability – especially when brewing a lager.

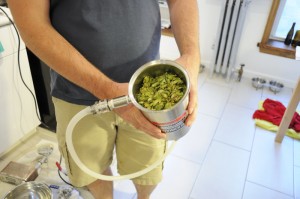
Hop back fully loaded with 2 oz. Czech Saaz hops.

Hop back fully loaded with 2 oz. Czech Saaz hops.

Problem 2: Where’d my Volume Go?
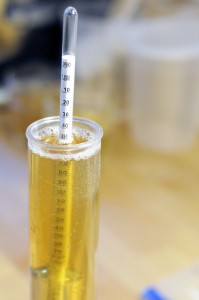
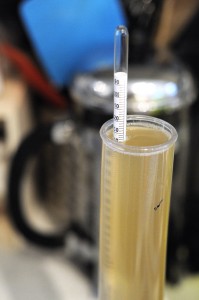
My mash went perfect; all temperatures and steps were hit. The problem occurred when I transferred everything to my kettle. When I measured my pre-boil volume I was about 0.7 gallons short of my target. My initial reaction was to start heating water to add back to my mash tun and collect more runnings. Stepping back and pausing for a moment, I decided to measure the gravity of the runnings I had collected in order to calculate how much sugar I had already extracted. It turned out that while my volume was low, I had the right amount of sugar in solution to hit my projected target gravity. To correct the problem, all I needed to do was simply top up my kettle to the projected pre-boil volume. To avoid this problem in the future, I plan to recalculate my mash tun dead space to better hit my projected volumes.

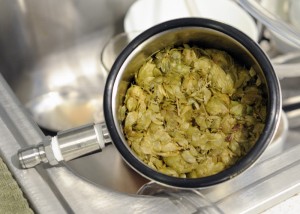
Spent hops in hop back.

Spent hops in hop back.

Problem 3: Cheesy Saaz Hops
For this recipe, I was working with two lots of Saaz hops that I had acquired from two different shops. The first leaf hops were sealed in clear vacuum bags that had been broken down by the brew shop into smaller lots, and were noticeably brown. The second set of hops were sealed in nitrogen purged Hop Union opaque bags. Since the hops in the clear bags didn’t look great, I had planned to use them to bitter the beer and use the Hop Union sealed hops in the hop back. Once I opened the clear bag hops of dubious provenance, it became clear that they had tell-tale oxidized hop smell of cheese / stinky feet. There was no way I could use these hops in a beer, even for bittering. With the aid of brewing software, I was able to replace the 2 ounces of cheesy Saaz bittering hops with 12 grams of Citra hops; the only other hop I had on hand. This is an extremely unconventional hop to use in a Czech Pils, but in a pinch it should work. There may be some residual American hop character in the background, but I find that preferable to an oxidized hop character.

Problem 4: The Hop Back Drank All My Work
My boil went well. I knew based on the Hop Rocket’s design that it would be difficult to determine how much wort the leaf hops would absorb, and how much wort would be trapped in the Hop Rocket canister. As it turns out, I lost about a half-gallon of wort within the hop back. This lost volume will be taken into account for future beer formulations that use the hop back.

Problem 5: Warm Ground Water
We’ve been riding a heat wave here in Brooklyn with high humidity and temperatures in the mid-90’s. Consequently our ground water has warmed considerably. Even with completely throttling down the wort flow rate through my plate chiller, I was only able to get the wort down to 68° F. With lagers, I like to pitch around 46° F and ferment 48-50° F. After running the wort through my chiller I placed it in my fermentation fridge to bring it down to 46° F before oxygenating and pitching yeast. This took about 4 hours, but should help ensure a clean lager fermentation.

The Recipe

Size: 3.25 gal
Efficiency: 72% (Measured)
Attenuation: 77% (Projected)

Original Gravity: 1.052 (Measured)
Terminal Gravity: 1.012 (Projected)
Color: 5.09 SRM
Alcohol: 5.24% (Projected)
Bitterness: 48.4 IBUs

Ingredients:
6.5 lb (91.2%) Bohemian Pilsner Malt (Weyermann)
6 oz (5.3%) Cara-Pils® Malt (Briess)
2 oz (1.8%) Melanoidin Malt (Weyermann)
2 oz (1.8%) Acidulated Malt (Weyermann) – Added for pH Correction

90m       1 oz (29.2%) Czech Saaz Leaf (Hop Union Flushed Bag) (2.4% AA)
90m       12 g (12.4%) Citra™ Pellets (14.1% AA)
15m       0.5 ea Whirlfloc Tablets
10m       0.5 tsp Wyeast Nutrient
0m          2 oz (58.4%) Czech Saaz (Hop Union Flushed Bags) (2.4% AA) – Hop Back

WYeast 2124 Bohemian Lager™

Original Gravity 1.052

Original Gravity 1.052

Mash Regiment:
10m       147 °F
50m       153 °F
10m       168 °F

Notes:
Final Volume into Fermenter = 2.75 Gallons
Yeast Required =  200 billion (per Mr. Malty)
Yeast Production Date: 7/1/13
Yeast Starter = 1L @ 1.040 on stir plate (per Mr. Malty). Use 1300ml Starter (5.5 oz DME)

Fermentation:
1. Chill to 46* F and keep at 48°F until activity slows (1 week+).
2. Raise temp to 58°F 3 days
3. Crash to 32°F and lager 21 days

100% Sour Mash Berliner Weisse Tasting

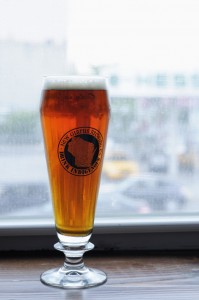
Less than a week after pitching yeast, my Berliner Weisse was carbonated and ready for consumption. The beer finished just in time for the NYC Homebrewers Guild annual picnic and the intense NYC heat (and humidity) wave that followed shortly afterwards. I couldn’t have made a beer in a more timely manner. At only 3.4% ABV, I was able to push it from grain to glass faster than any other beer I’ve brewed.

100% Sour Mash Berline Weisse

Perhaps the best beer to consume during the doldrums of a NYC heat wave?

Beer Tasting

Judged as a BJCP Category 17A Berliner Weisse.

Aroma (10/12)
Initially the beer presents with a nice and clean, tangy lactic aroma that is in some ways reminiscent of the acidity found in yogurt. In the background is a round and almost honey-like pilsner malt aroma with a hint of toasted cracker. Also apparent is a very light herbal hop aroma that is a bit out of place in the style, but welcome in such a young beer. There is a light touch of a pear ester. No diacetyl, DMS, or other off-flavors.

Appearance (3/3)
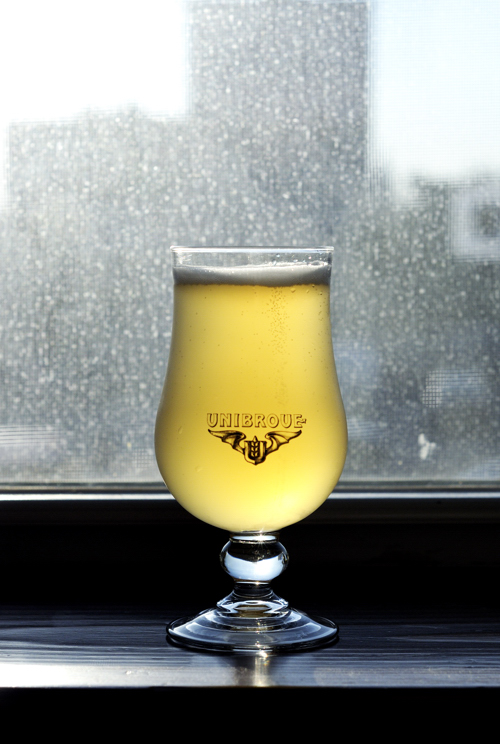
Quite hazy and very pale. There is a bright white foam that easily builds and persists throughout consumption.

Flavor (16/20)
Simple and delicious. The beer somehow manages to have an acidity that is both round and soft, while also quite intense and refreshing. The acid is clean and pleasant. There is a nice simple and easy-drinking malty character that showcases the pilsner malt sweetness while having a crisply dry crackery finish (probably from the wheat). None of the hops I got on the nose can be tasted. The malt is maybe a hair too sweet for the style. There is just a hint of perceptible bitterness.

Mouthfeel (4/5)
The dryness of this beer combines with the acidity and medium-high carbonation to be quite crisp. The body is maybe a touch full. There is no hint of thinness or the watery character that is often found in low-alcohol beers.

Overall Impression (8/10)
This is an excellent example of the style. It captures the acidity and refreshing qualities that are the hallmark of the style and hits all the right marks in terms of malt character. There are none of the off-flavors sometimes associated with sour mashes. The only detractor is that perhaps it is a touch sweet; likely caused by me undershooting my attenuation goals. To make this beer better, I would allow it to ferment for an extra day or two and hopefully squeeze a couple more points of  attenuation out of it.

Total: 41/50 (Excellent)

Berliner Weisse Recipe (Sour Mash) and Brewday

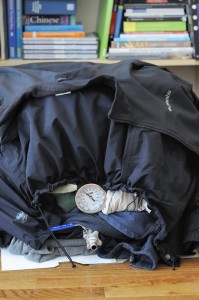
Using blankets and coats to insulate my mashtun.

Using blankets and coats to insulate my mashtun.

I love sour beer. I love simple beers. I love Berliner Weisse.

Berliners are low in alcohol and crisp, featuring a clean lactic sour character that can be quite tart and thirst quenching. They are easy drinking and sessionable. The best ones have an almost yogurt-like tartness produced by a lactic fermentation and complemented by a light and almost crackery wheat malt character.

The key to this Berliner recipe is creating a clean and substantial tart sourness using sour mash techniques. The beauty of a sour mash is that you don’t have to grow potential contaminants on the cold side of your brewhouse. The basic process involves mashing as you typically would and then post conversion inoculating the mash with a portion of raw grain (some inoculate with a commercial lacto pitch). The mash is allowed to naturally sour before boiling, chilling, and pitching yeast. Successfully sour mashing is all about setting the right environment for naturally occurring lactobacillus on the grain to thrive while discouraging other microbial action (molds, other bacteria, wild yeast, etc.). While researching sour mash, I ran into a lot of sources describing the putrid aromas that they can sometimes produce. Descriptors like gym socks, rotten vegetables, stinky cheese, and baby diaper are common when sour mashes are poorly executed, and are completely avoidable. By manipulating pH, temperature, and exposure to oxygen you can encourage clean lactobacillus growth while minimizing the growth of unwanted organisms.

pH – My recipe includes a large charge of acidulated malt, post sugar conversion, used to drop the mash pH into a range that lactobacillus can thrive at, but unwanted organisms do not.

Heat – My recipe inoculates the sour mash at the upper end of the temperature range that lactobacillus can thrive (126° F) and keeps the mash hot for 48 hours, using care to not allow the mash temp to drop below 106° F.

Oxygen – Lactobacillus thrives in anaerobic environments, while other organisms that throw off-flavors are aerobic. In order to encourage lacto fermentation, it is important to purge the mash tun using CO2 and seal it in order to prevent oxygen exposure. Additionally, I used de-aerated water (boiled) to mash with and was careful to not excessively stir the mash.

Recipe

Size: 3.24 gal
Efficiency: 76% (measured)
Attenuation: 72% (measured)
Boil Length: 30 minutes

Original Gravity: 1.036 (measured)
Terminal Gravity: 1.010 (measured)
Color: 3.03 SRM
Alcohol: 3.4% ABV (calculated)
Bitterness: 5.0 IBUs

Ingredients:
2.5 lb (52.6%) Bohemian Pilsner Malt
1.75 lb (36.8%) White Wheat
2 oz (2.6%) Acidulated Malt (for mash pH correction)
6 oz (7.9%) Acidulated Malt (added during 156° F rest to acidify sour mash post sugar conversion)
0.25 lb (0.0%) Rice Hulls (added during lauter)

8 g (100.0%) Hallertauer Hersbrucker (4.3%) – boiled 30 m
0.5 ea Whirlfloc Tablets (Irish moss) – boiled 15 m
0.5 tsp Wyeast Nutrient – boiled 10 m

1 ea WYeast 1007 German Ale™

Mash:
60 min – Rest at 148 °F
10 min – Rest at 156 °F
10 min – Mashout at 168 °F

Sour Mash:
1. De-aerate mash strike water by boiling.
2. Cool mash water to strike temperature.
3. Complete mash regiment and let it cool in mash tun to 126°F. Minimize stirring and aeration of wort.
4. Add 4 oz uncrushed pilsner malt to inoculate wort.
5. Cover mash bed with aluminum foil, purge with CO2, and seal mashtun.
6. Wrap mash tun in blankets and rest 48 hours.
7. Add boiling H2O to increase sour mash temp as required.

Brew Day:
1. Mash out grain bed.
2. Lauter
3. Boil, chill, and pitch yeast.

Yeast Pitch:
Final Volume into Fermenter = 2.75 Gallons
Yeast Required = 68 billion (per Mr. Malty)
Yeast Production Date: 6/11/13
Yeast Starter = (None Required)

Fermentation:
1. Chill to 64° F and keep at 64° F until activity slows.
2. Raise temp to 68° F until activity is complete.
3. Crash to 32° F for 36 hours.
4. Keg and force carbonate to 3 volumes CO2.

Brewing Notes:

Gravity Reading - Post boil the wort is quite tart.

Gravity Reading – Post boil the wort is quite tart.

– Originally I was shooting for a 1.035 OG using an anticipated efficiency of 68%. My mash efficiency was considerably greater hitting 76%. I adjusted my final volume and interrelated hop additions in order to achieve an original gravity of 1.036.

– After sour mashing for 24 hours I tasted the mash liquid. It was barely tart, but quite clean with no off-flavors. Mash liquid was tasted again after 48 hours and had a substantial clean sourness with no off-flavors.

– My goal was to sour mash for 48 hours, brew, and then have a carbonated keg to serve 7 days later. I did this successfully, serving the carbonated beer less than 7 days from when I pitched my yeast. I rushed my fermentation likely causing the yeast to attenuate to only 1.010. I was hoping for 1.007 (80% apparent attenuation). Had I given the yeast another 2-3 days to work, I believe I would have achieved a 1.007 terminal gravity.

National Homebrew Conference – Philadelphia 2013 Recap

Brewing up a RevolutionFree flowing beer, seminars given by people whose beer knowledge dwarfs my own, camaraderie with fellow beer geeks, and the chance to mingle with the pseudo-celebrities of our niche hobby are just a few things that awaited those who headed to Philadelphia for the 2013 National Homebrewers Conference. The conference has made a habit of being in my back yard two years in a row now, so making the trip to Philly was an easy decision. This was my second NHC, and from my limited experience, I’d say this is one show you don’t want to miss.

Seminars

Each day of NHC offers between 3 and 5 separate seminar sessions to go to and learn about a variety of topics. Frankly, the seminars vary wildly in quality. Without sounding too much like a douche asshole, many of the presentations are either geared towards very basic topics, or presented by those that can’t seem to effectively present the thoughts in their heads. Since there are multiple seminars happening during each time slot, you have to make some educated guesses when picking which to attend. My strategy was to look at the credentials of the presenter first and choose seminars that seemed like they had a good chance of not sucking. My advice to the AHA would be to somehow pre-qualify their speakers. Additionally they could offer different seminar tracks based on a brewer’s level of knowledge or particular interests. Seminars are an opportunity to present new research or otherwise interesting information within the broad spectrum of topics that brewing embodies; unfortunately this is rarely the case. I’ll briefly run through each seminar I went to in a minimal fashion. If you’re an AHA member you can delve into each with more care, by (someday) downloading the presentations off the AHA website.

Process Improvement and Beer Enhancement: The Nano Experience – Andy Tveekrem
I was really hoping this seminar would discuss the trials and tribulations of operating a nano-brewery and challenges of process and quality control brewing on a small scale presents. Instead we got a brief overview of the speaker’s background and then a rundown on the basics of homebrewing. Not really worth the time unless you’re completely new to homebrewing and don’t know the basics of things like sanitation, yeast management, etc.

Methods of Maintaining a Wild House Culture – Kyle Kohlmorgen
The information that was presented was far too basic. I was expecting a talk about plating and isolating cultures, selecting for strains with positive brewing attributes, maintaining them in cold storage, and then propagating and blending to create new and interesting fermentations…or at the very least a talk about building and creating a consistent house culture.

Blame the Maltster: An Overview of Malting Operations and How They Influence Beer – John Mallett (Bell’s Brewery)
John presented a balanced in insightful talk about the decisions a maltster must make during the malting process and the balancing act that is required in order to create the best end product. A fair amount of the seminar was spent discussing malt analysis sheets. Hearing the perspective a large brewer brings to developing their malt specification and analyzing the specifications they actually receive was pretty interesting.

Because Not Every Beer is Stone Enjoy By IPA: Preserving Hop Aroma – Stan Hieronymus
While this seminar was mainly an overview of topics covered in detail within Stan’s hop book, his seminar did get the wheels in my heading turning on the topic of the bio-transformation of hop oils during the fermentation process. It is kind of mind-boggling that two different hop oils can be present pre-fermentation and be transformed into completely different compounds via yeast metabolism.

The Science of Beer Flavor – Roger Barth
A great speaker (with a PHD) presented what is happening on a neural level when we are experiencing the taste and flavor of beer. Well presented, humorous, and definitely worth revisiting.

Cider Revolution: How to Brew Great Cider from Everyday Ingredients – Christian Banker
Really dull, and somewhat insulting to those who spend a lot of time making ciders and blending apple varietals in order to create the end product they envision. Not really any new or interesting information.

Alternative Wood Aging Techniques – John Gasparine
One of the top three seminars. The speaker is not a professional brewer, but does consulting for those looking to add interesting, and unconventional wood flavors to their beers.

Brewing Chemistry 101: pH and Buffering – Bob Hall
This seminar managed to take water chemistry as it relates to mash pH and make it very clear and easy to understand. If you’ve been boggled by the nuances of mash chemistry, this seminar presents a fairly complex topic in a brief and easy to understand manner.

Step up Your Starters: Insight into Yeast Propagation for Homebrewers – Kai Troester
While there weren’t any earth-shattering new ideas presented in this seminar, watching Kai and getting a better understanding of the methodologies he uses was a joy. Kai is the mad scientist of homebrewers; any information he presents is always welcome.

Current Techniques and Recent Developments for Brewing Great IPAs – Mitch Steele (Stone Brewing)
The biggest idea and realization made in this presentation was that popular breweries who make great hoppy beers (like Stone) are often blending in portions of hops most homebrewers typically wouldn’t use in an American IPA as a way to add complexity and accentuate the beer’s hop profile. Hearing Mitch call Sterling one of his favorite hops was pretty eye-opening and makes me consider a lot of hop varietals I would have previously written off.

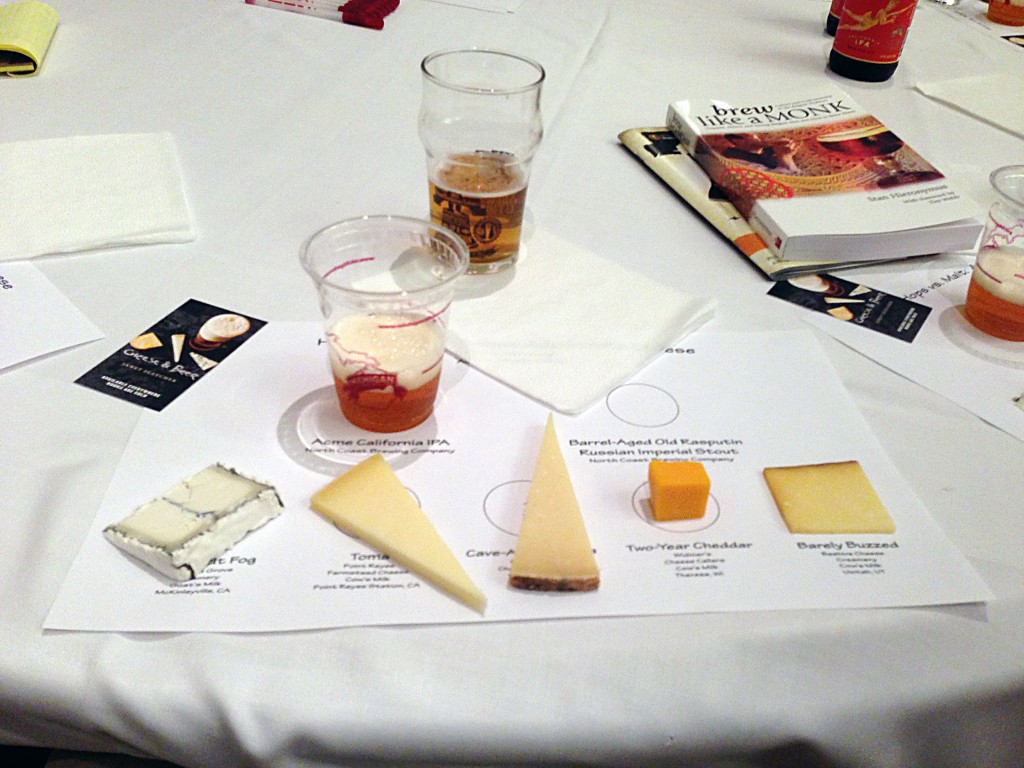
Hops vs Malt: A Smackdown with Cheese – Janet Fletcher

What can I say? Great beer is nice with great cheese.

What can I say? Great beer and cheese is a no-brainer.

­­Hospitality Suite and Trade Show

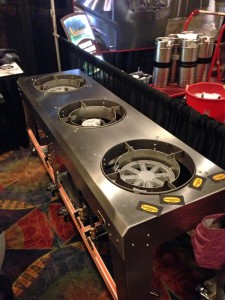
Tricked out stealth-bomber-like brewing rig by Brew Station.

Tricked out stealth-bomber-like brewing rig by Brew Station.

The hospitality sweet was great this year. While perhaps one in every five beers I sampled featured some sort of off-flavor, in general the beers were quite good. It was a lot of fun grabbing a homebrew and walking around the exhibition floor to check out all of the cool gadgetry. Blichmann in particular had some cool new products, including a stainless steel RIMS coil that plugs into their hop rocket shell and works with their controllers. There was also a company called Brew Station building some incredibly tricked out stainless rigs. Jess Caudill and Greg Doss were omnipresent at that Wyeast booth to answer your yeast questions. And of course, Sabco had their rigs setup at the show giving me an idea of what my homebrewery would look like should I win the lottery.

The ‘Big’ Events – Pro Night and Club Night

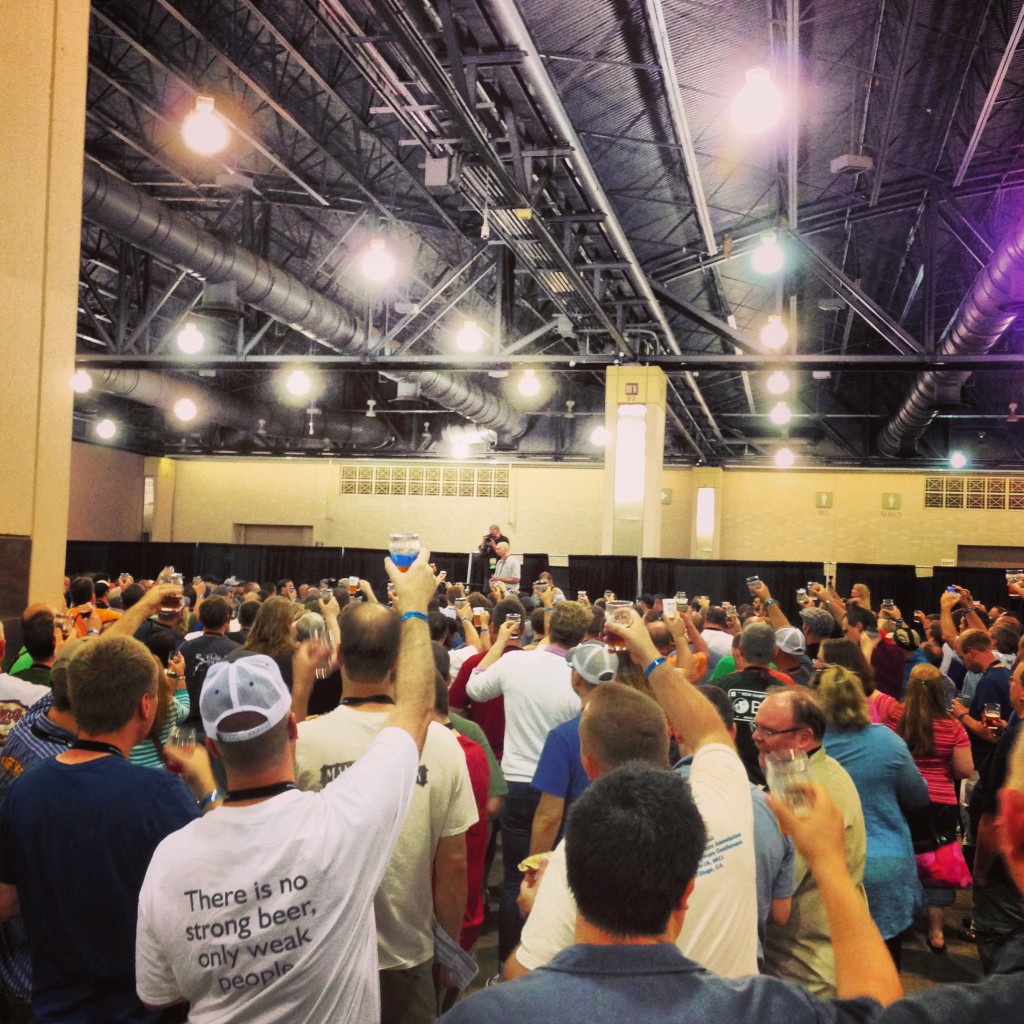
Opening Toast at Club Night

Opening Toast at Pro Night. No idea what was said, but fun none-the-less!

Pro-Night was a blast, although somewhat forgettable aside from Lagunitas having a fitting blow on one of their kegs sending a beer geyser 20 feet into the air. Don’t get me wrong, the pro-beer was great, but that really isn’t what NHC is about. That honor of course is reserved for Club Night, where the true creativity and skill of homebrewers is put on display. There were some phenomenal booths with unique designs and smart draft setups. Theatrics aside, it is really about the beer. There will always be dumpers when you’re sampling this quantity of homebrews, but in general the quality was very high. I was especially impressed by the large number of outstanding sour beers. This has to be the biggest trend that I noticed this year, along with the large variety of outstanding meads and ciders that were available. I was able to sample a lot of beers from a ton of different clubs and had a great time. If I had to choose one club that absolutely knocked it out of the park, it would be the Woodbridge Homebrewers Ale and Lager Enthusiast Society. Their booth was simple, but everything I sampled from them was outstanding, including some insane iced ciders.

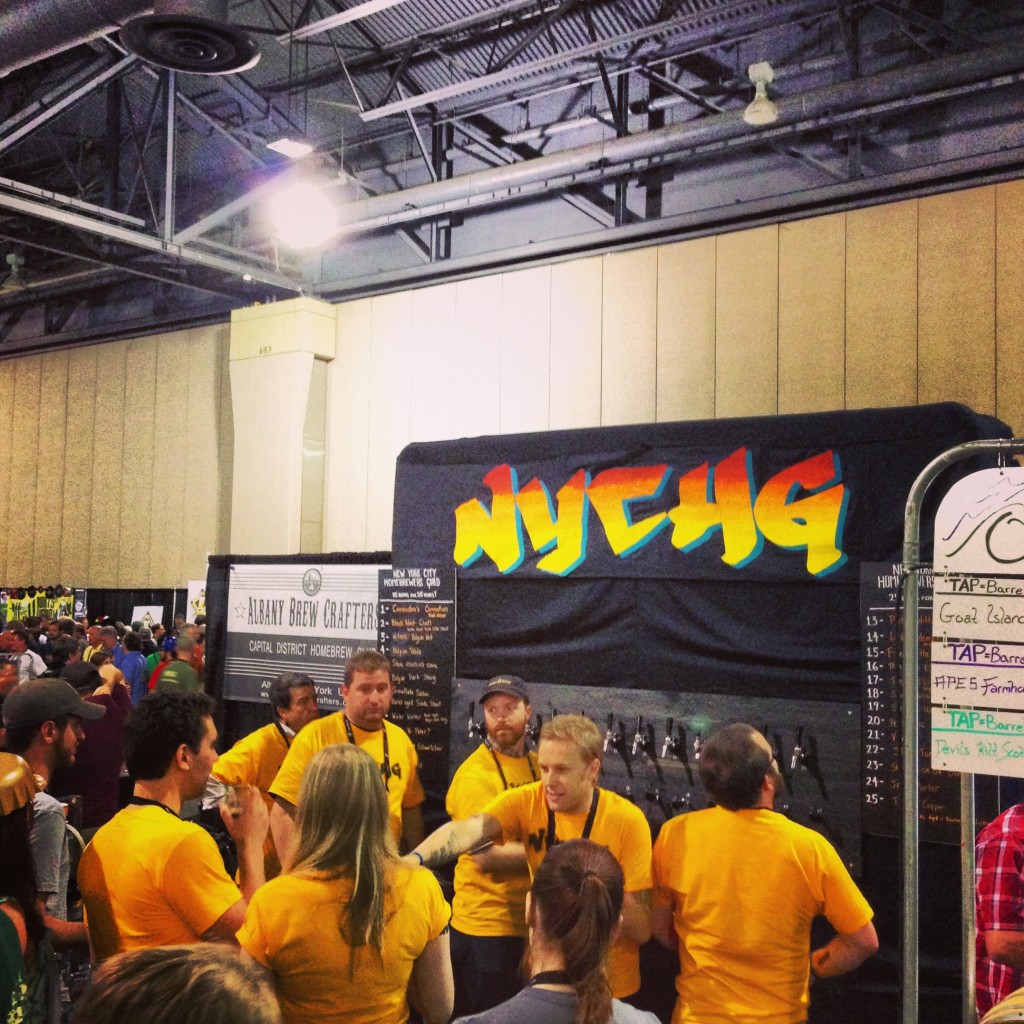
New York City Homebrewers Club Booth

New York City Homebrewers Club Booth – The club that has taken in this lost West Coaster.

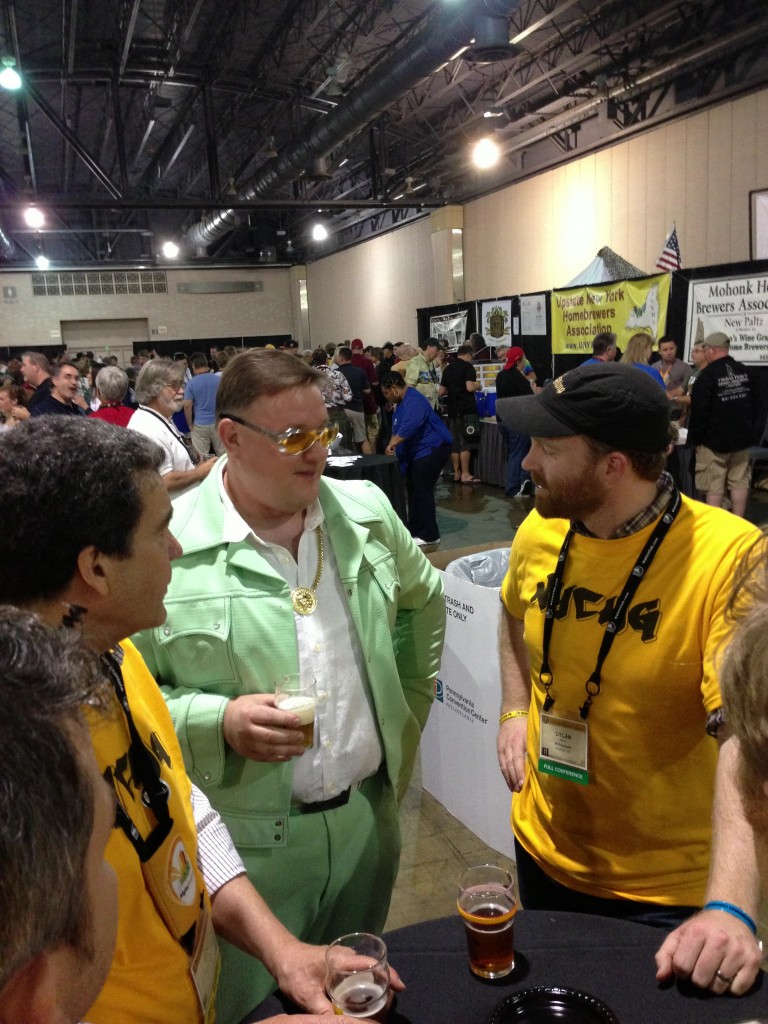
Club Night

Whatever the topic of conversation was, you know it was awesome.

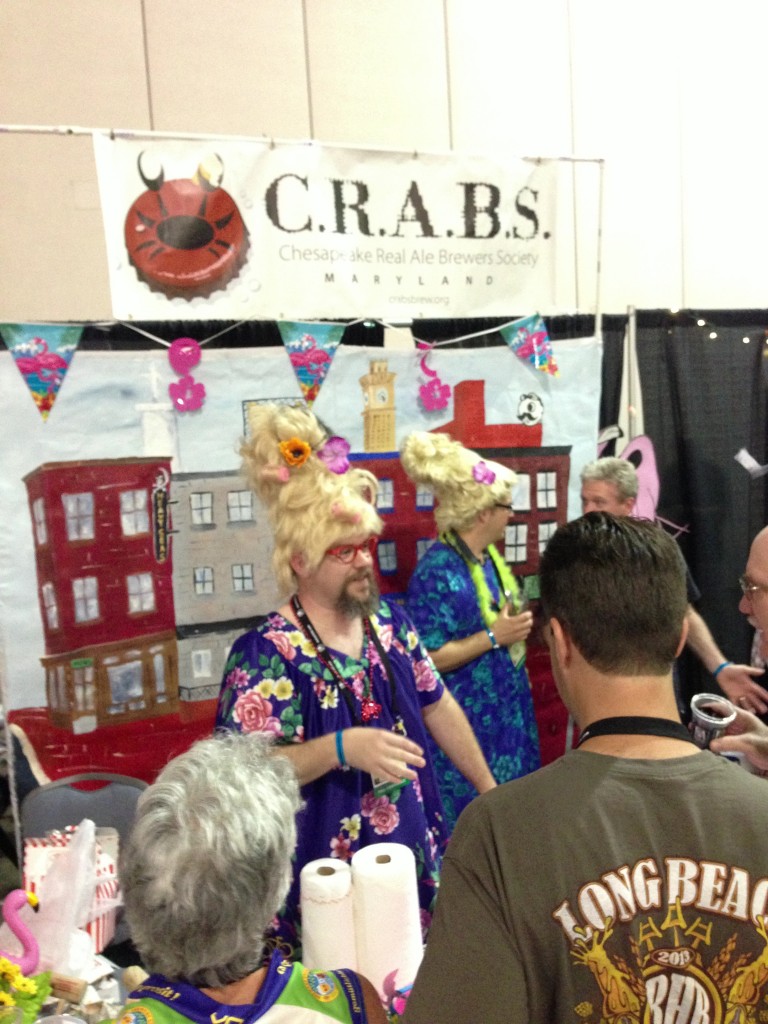
Club Night

The wives of C.R.A.B.S. club members serving up some great beer.

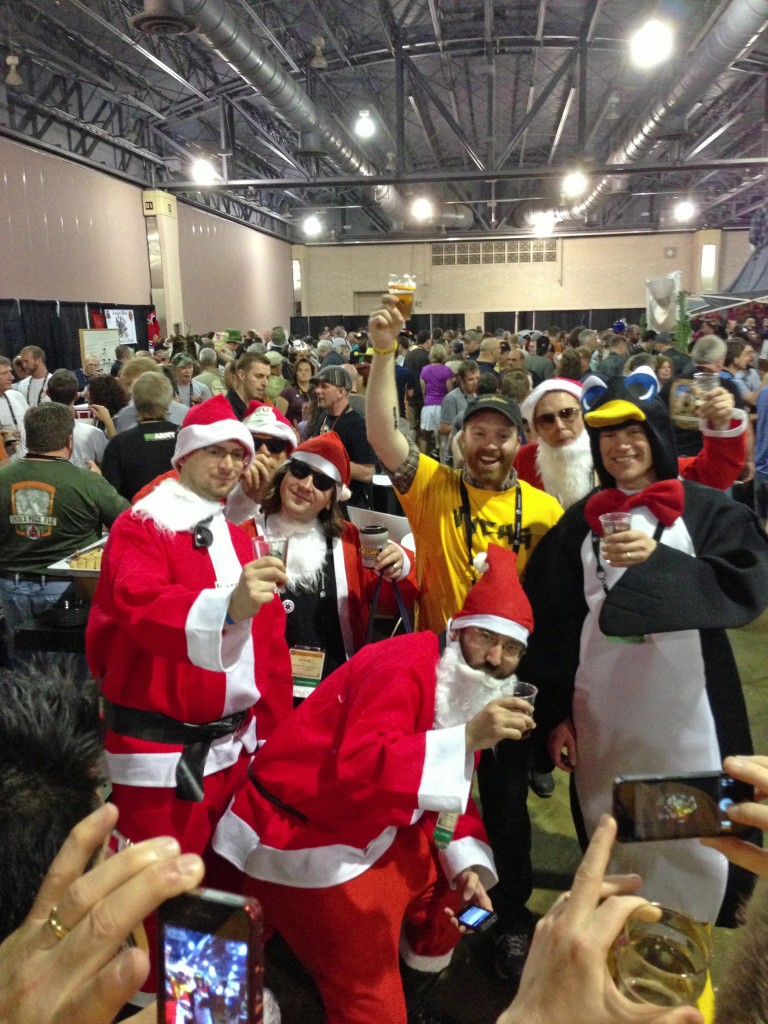
Club Night

5 Santas, a Penguin, and an Excited NYCHG Club Member

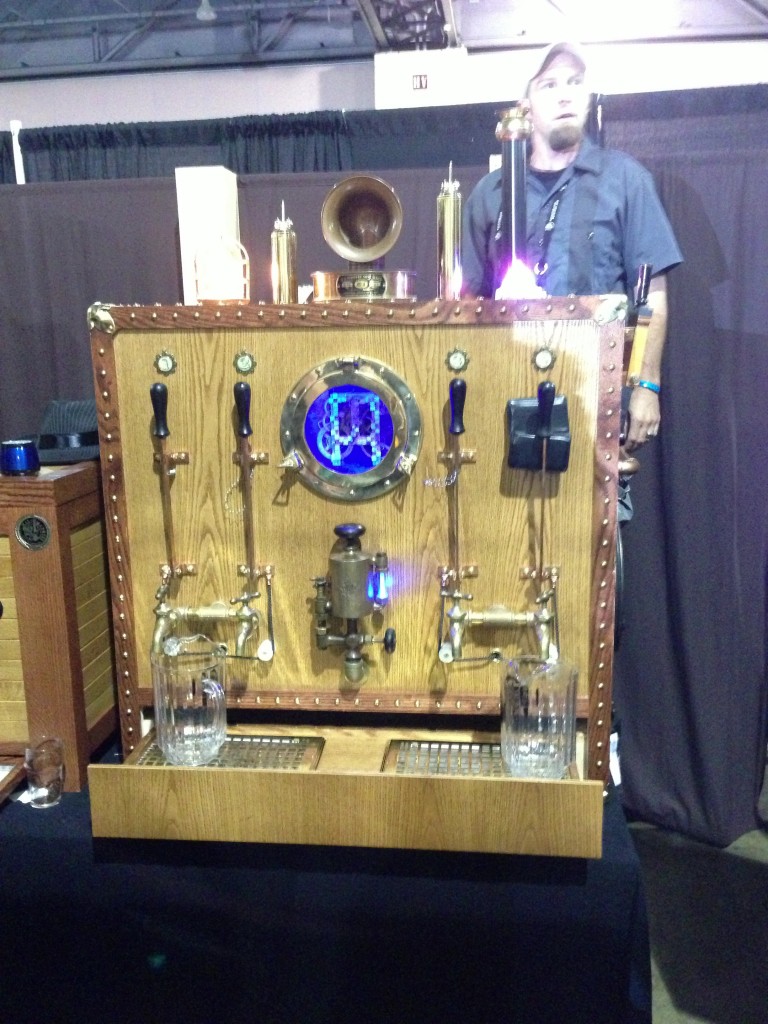
Steam Punk Inspired Draft Setup

Steam Punk Inspired Draft Setup

Grand Banquet & Awards Ceremony

No homebrew competition awards ceremony has the energy present at NHC. It was a ton of fun watching the winners of the National Homebrew Competition collect their hardware. I didn’t enter this year, but knowing first-hand how much fun going up on stage to collect your medal is, fueled my excitement for those I was watching. Charlie Papazian was noticeably missing from the ceremony; hopefully he’ll be back next year.

The banquet food kinda sucked, and furthered my perplexity as to why people give so much praise for Sean Paxton’s (The Homebrewed Chef) meals. I’ve had three now, and all have been mediocre. I don’t expect much from banquet meals such as this, but it was pretty bad.

The Commemorative Beers

He never had a chance...

He never had a chance…

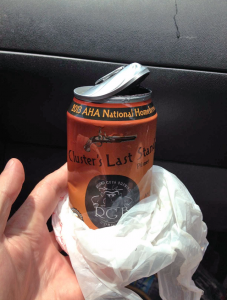
Boom goes the can! Seriously. Numerous cans of Round Guys Brewing’s – Cluster’s Last Stand commemorative beer literally exploded. Some faired a bit better only becoming rock hard and over-carbonated. One can I saw had its concave bottom popped out like a pregnant woman’s belly button — that’s a lot of pressure. I can’t help but chuckle at the irony that the  commemorative beer given out by the AHA was infected and produced can bombs. Over carbonation aside, the flavor was a bit butyric and phenolic (plastic) affirming the suspicion of infection. The other beer given out, a rye saison by Sly Fox, was better received and pretty tasty.

Next Year…NHC 2014

Next year the NHC circus travels to Grand Rapid, MI… also known as the hometown of Founders Brewing company, and apparently a lot of great homebrewers. Yes, Michigan is in the middle part of the country, but don’t hold it against them; they make outstanding beers. I for one am completely stoked to travel their next year and do it all over again!

Vienna Lager Recipe and Tasting

Vienna Lager

Homebrewed Vienna Lager

What qualities would you want in a “desert island beer”? Personally, I’d want something with low enough alcohol to consume in quantity, something relatively dry with some malt intrigue, and something balanced; in other words, a Vienna Lager.

The Vienna Lager is a bit of an enigma. The classic Continental examples are pretty much extinct. I have yet to find a European version that matches what I imagine a classic Vienna Lager to be. Immigration of Austrian brewers to Mexico in the late 1800’s brought the style to the New World, creating the distant relatives of the modern beers we see imported today. Common examples like Dos Equis Amber and Negra Modelo (which are tasty in their own right), are adjunct laden, sweeter versions of their Austrian forefather’s beer. The best examples today come from American craft brewers. Places like Chuckanut Brewing and Devil’s Backbone make my favorites and are perennial award winners at the GABF. These incredible all-malt examples have a slight sweetness and complex, yet not overbearing malt character, finishing slightly off-dry. This is what I’ve tried to emulate; using a recipe that takes a similar approach as Brewing Classic Styles, blending the trifecta of Pilsner, Munich, and Vienna malts. I personally don’t feel like crystal malts have much place in a good Vienna Lager; perhaps a touch for head retention. If you’re at NHC 2013 in Philly, come by the NYC Homebrewers Guild booth during Club Night where I’ll have this beer flowing.

Recipe

Size: 3.25 gal
Efficiency: 67%
Attenuation: 72%

Original Gravity: 1.050
Terminal Gravity: 1.014
Color: 14.23
Alcohol: 4.7%
Bitterness: 24.8

Ingredients:
2.625 lb (39.3%) Vienna Malt – added during mash
1.25 lb (18.7%) Pilsner Malt – added during mash
2.625 lb (39.3%) Munich TYPE II – added during mash
1 oz (0.9%) Carafa® TYPE II – added during mash
2 oz (1.9%) Melanoidin Malt – added during mash
1 oz (100.0%) Hallertauer Hersbrucker (4.3%) – added during boil, boiled 60 m
0.5 ea Whirlfloc Tablets (Irish moss) – added during boil, boiled 15 m
0.5 tsp Wyeast Nutrient – added during boil, boiled 10 m
1 ea WYeast 2308 Munich Lager™

Schedule:
00:03:00 Dough In – Liquor: 5.6 gal; Strike: 159.87 °F; Target: 155 °F
01:03:00 Saccarification Rest – Rest: 60 m; Final: 155.0 °F
01:13:38 Mash Out – Heat: 10.6 m; Target: 168.0 °F
01:18:38 Transfer to Kettle – Volume: 6.04 gal; Final: 168.0 °F
(No Sparge)

Notes:
Final Volume into Fermenter: 2.75 Gallons
Yeast Required: 196 billion (per Mr. Malty)
Yeast Production Date: 3/13/13
Yeast Starter: 1.6L @ 1.040 on stir plate (per Mr. Malty) = 6.5 oz. DME

Fermentation:
1. Chill to 44* F and keep at 48* F until activity slows (1 week+).
2. Raise to 58* F for diacetyl rest 24 hours .
3. Drop temperature 2 * / day until at 34 * F.
4. Rack to corny keg.
5. Lager 4-6 weeks

Tasting Notes:

Judged as a BJCP category 3A Vienna Lager.

Aroma (11/12)
Subtlety complex toasted malt character with some biscuit and almost sourdough-like bread qualities. There is a hint of sweetness on the nose. Just a whisper of sulfur reminds you you’re drinking a lager. No esters, alcohol, hops, or diacetyl. Extremely clean.

Appearance (2/3)
Brilliant rich copper color with a white head. A little more carbonation would improve the initial head, but it could use better persistence.

Flavor (16/20)
Beautiful malt character that is toasty and crisp without being caramel-laden or too rich. There is a hint of graininess that seems to be coming from a pilsner malt. The malt is crisp and balanced. There is no hop flavor, but their presence is felt in a bitterness that is medium-low with enough intensity to keep the beer crisp while allowing a lingering malt sweetness to persist through the finish.

Mouthfeel (3/5)
This beer is slightly undercarbonated leaving it with a somewhat full mouthfeel. Beer finishes relatively dry and perfectly to style. More carbonation would help make this an even more drinkable beer.

Overall Impression (9/10)
This is one of my favorite beers to brew and consume. Creating a clean, low-alcohol lager is a well-rewarded challenge. There is some nice malt complexity that is clean and crisp making it easy to both drink in quantity while also stimulating your palate. It is a beer that can you can dissect the flavors and aromas of one-by-one, or simply slam a boot of. Next time I brew, I’ll likely add some dextrin malt to improve the head persistence, slightly bump up the percentage of Vienna malt (while lessening the Munich II), and go back to my favorite lager yeast (WLP833, the Ayinger strain) which seems to attenuate a little bit better.

Total: (41/50) Excellent